Showing posts with label crafts. Show all posts

Monday, February 25, 2013

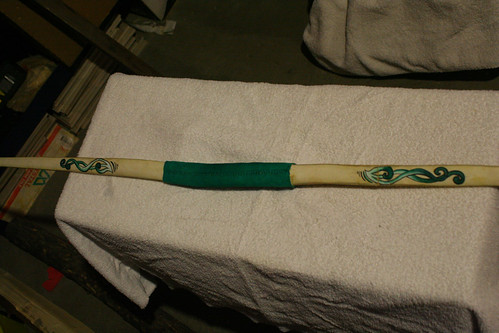
New Kids Bow: D Style Longbow

D style primitive bow2

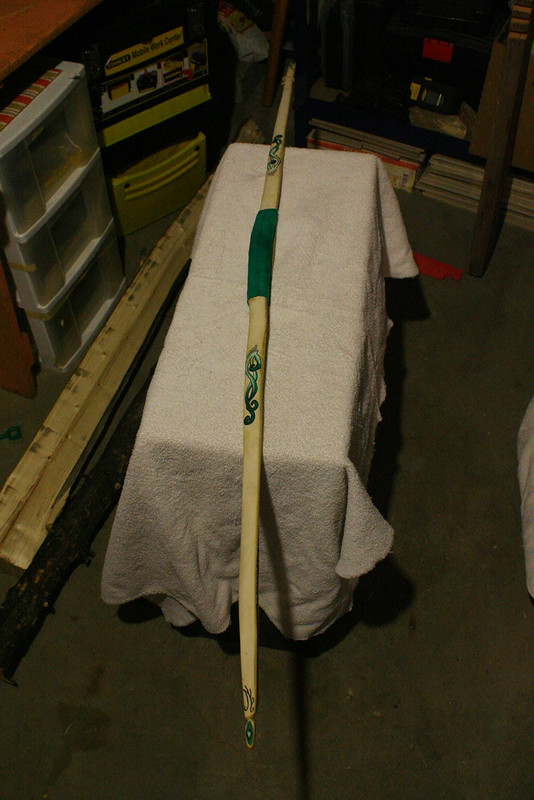
D style primitive bow1

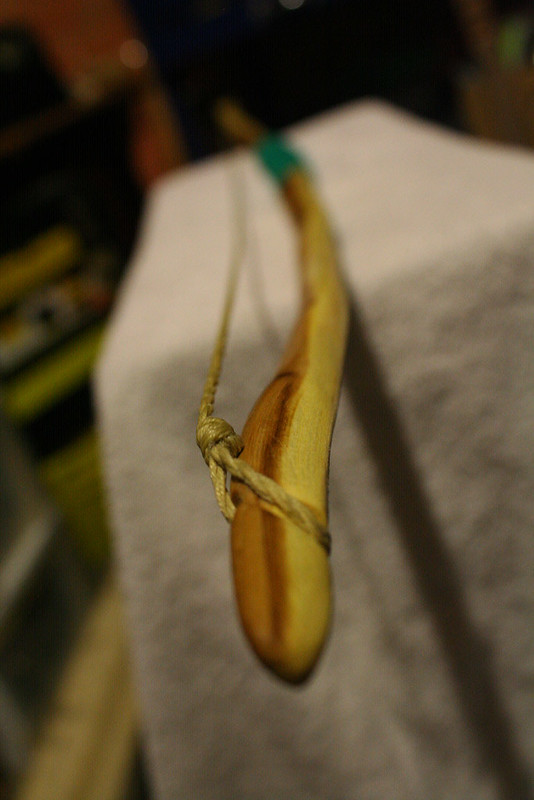
D style primitive bow3

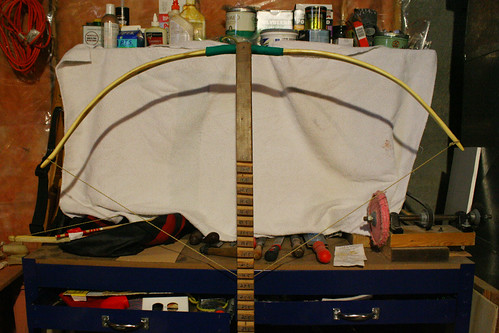
D style primitive bow4

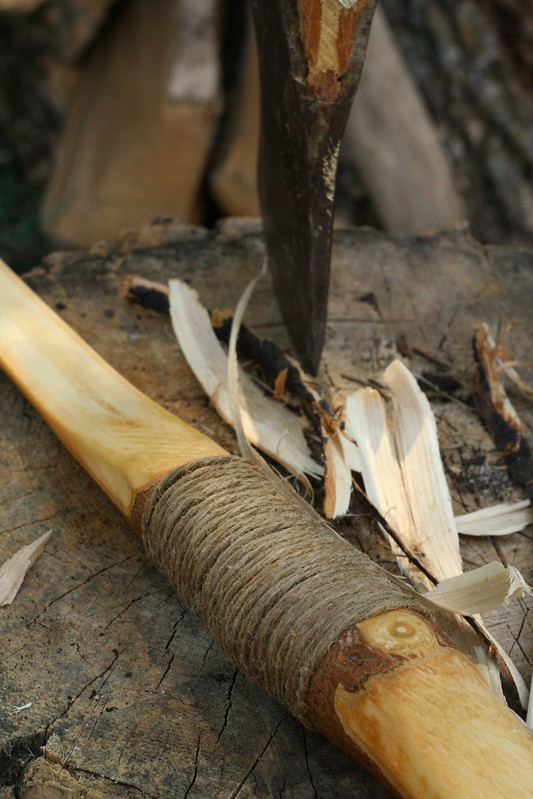
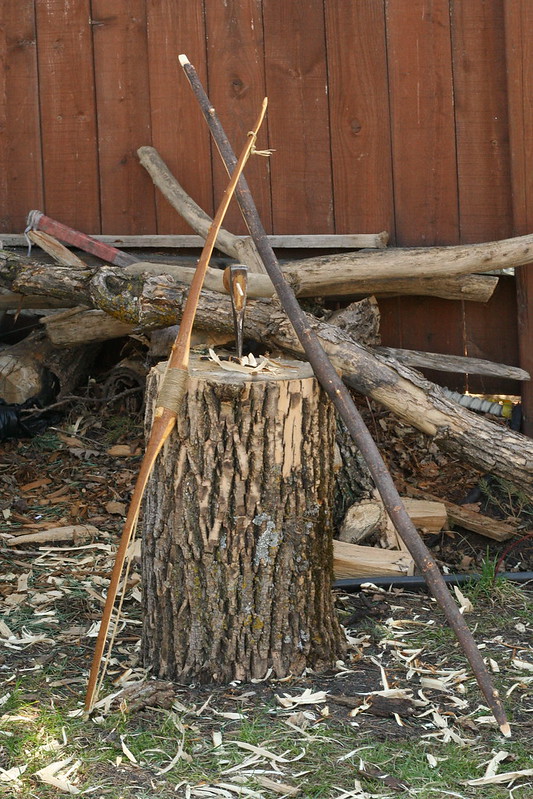
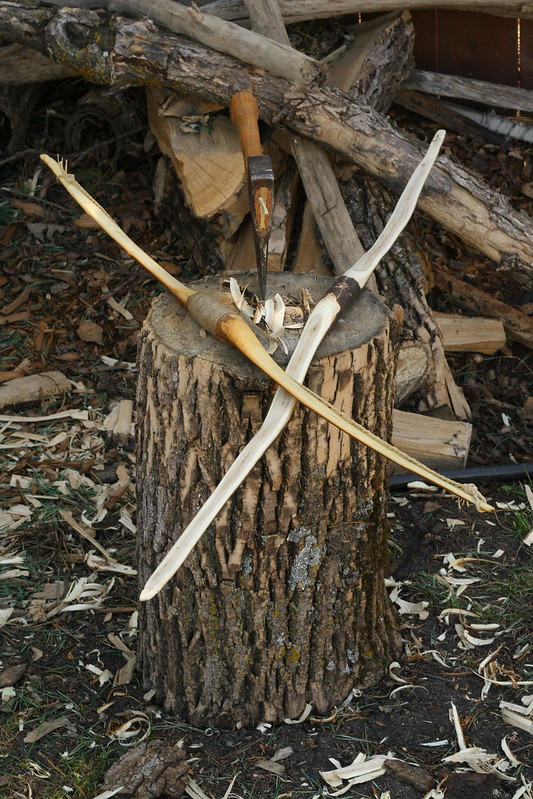
Here is another bow I worked on at the end 2012. It is a D style ( named for the shape of the belly of the bow) long bow. It is 51" in length and pulls 22". I did not have a method of gauging the draw weight but it is light, intended for a ten year old.

It was backed with rawhide and painted wonderfully by my talented wife, who also sewed on the suede  hand grip. Beautiful work.

The wood used was elm and was cut from the river bank near my house. The sapling was split down the middle and yielded another bow as well. I did not get a chance to photograph that one. Both bows were christmas gifts for a friend nephew and niece, and I was under deadline pressure.

This bow would fall under the category of a "character bow" as there were all sorts of knots and bends in the wood for me to work around.

It was a great learning experience and has helped me improve my understanding of how to make bows. I have been working on some larger bows recently and look forward to presenting them in the near future. so stay tuned.

Before I touch on those, I do have another kids bow I will be posting about. it is the one I made for Lilly for christmas. So stay tuned.


Sunday, January 20, 2013

New Refurbished Axe

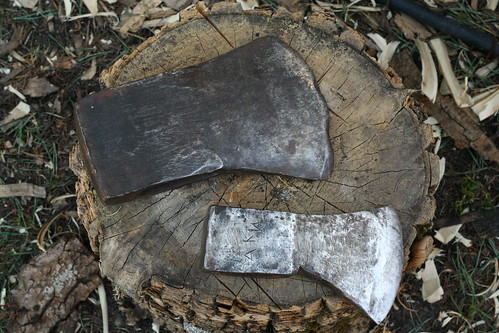
Vintage Axe Heads 2
Refurbished Axe2
Refurbished Axe3
Refurbished Axe5

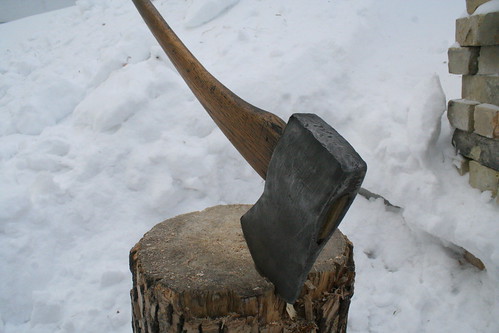
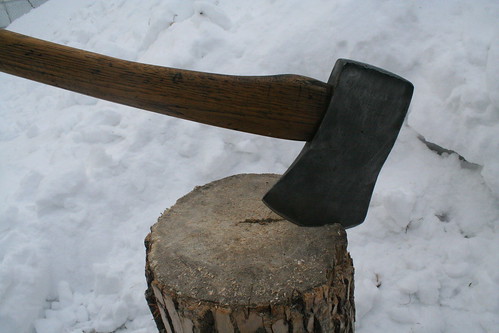
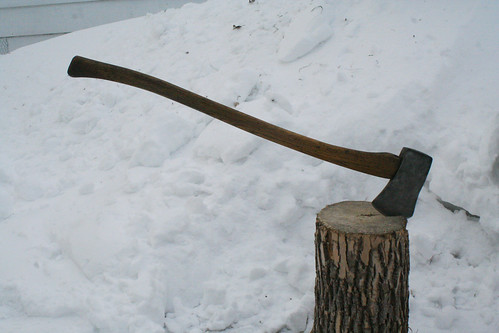
Here is one of my recently completed projects.

I found this old beast in my garage when we moved into our house close to three years ago. It was weather worn, chipped and in really rough shape. I almost threw it out.

But I just couldn't help but feel I could do something with it. It was dirty but not overly rusty, and the places where it had splintered on the handle were not going to compromise the integrity of the handle. So I tried it out as it was, and sure enough even with a dull, chipped head it could still quite easily split some wood. Probably due to the 3.5-4 pound head on it, combined with a 36" handle.

The axe head was quite loose and came off without much of a fight. This was great because I knew with a new wedge the old handle could be refitted when I hung the axe. This is super cool because old axe handle are much slimmer and more elegant looking than the ones they fashion today.

I'm glad I took the time to snap a shot of how messed up the blade was. I keep thinking it looks like the ocean because it is so wavy.

I did not get to this project right away, it probably sat by my workbench for close to two years, as I worked on other axes and bows. One night a while back, a friend of mine gave me a head for a splitting maul that he found in his back lane. It was impressively rusty, so I took it as an excuse to try out a new environmentally friendly rust removal technique. I shy away from using highly chemical and dangerous methods because... well I guess that is just how I was raised, I don't like easy fixes that can poison and kill. Instead of some dangerous chemical I opted for apple cider vinegar. And let me tell you that stuff works. Holy cow. One night soaking in that removed easily 90% of the rust first go. While I was testing it on the rusty maul head, I figured why not ad the beastly axe head to the experiment. I could have removed most of the grime from it using sand paper, but maybe the apple cider vinegar would work on that as well. Yup, it worked. Saved me some sandpaper and did a way better job. It even gave me a clear idea where the blade steel of the axe was. Which inspired me even trying to refurbish the axe head.

For those of you who don't know, a piece of harder steal is hammered into the axe head to make the blade. This allows the part you sharpen to maintain an edge. The stuff that makes up the rest of the head is too soft to hold an edge and your axe would constantly need to be resharpened.

So I cleaned off both maul and axe head and placed the maul to the side. I grabbed an axe file and began the journey of filing out the chips from the blade. This took me probably close to two hours throughout a couple of days. Once I had blunted the edge smooth, I went about profiling the blade. I might mention I have never done this before, so it took me a while to get the blade straight. It will function fine now, but I would not enter any lumberjack competitions with this axe.

That done, I grabbed my sharpening stone and put as much edge as I am capable of on the axe head and taped it up so I could hang the axe.

The handle of this axe is a real beauty. Axe handles are made from hickory. A very white wood. However if you oil it with linseed oil it turns a lovely golden colour. If you just use it over the years with dirty hands it will eventually darken into a deep brown. This is the case with this handle. I sanded out all the splinters and took some dark English Oak, Danish oil and rubbed that in. I finished it with a couple of coats of linseed oil between sanding. It now looks and feels spectacular.

Since the handle was already fit to the axe head all I needed to do was apply a new wedge and voila! A good as it ever was, refurbished axe. I have since given it as a gift to my friend who gifted me the maul head. May he find a reason to use such a beastly axe. He is also a talented leather worker, so hopefully he will make a nice protective sheath for it.

Thus ends my axe odyssey. In the future, I would prefer to work with axes that are older but in better shape. It was a good learning experience though, so it was worth all the work in the end.

Sometimes I'm asked how I find the time with a family and work to do this stuff. I simply answer, and I'm not being cheeky here. "I don't watch TV" Amazing how much time you can free up to do interesting projects when you don't do that.

Stay golden pony boys and girls

Monday, April 30, 2012

My Axes

My refurbished axes 2 My refurbished axes 4 My refurbished axes

Here is the last post for tools and such that I have refurbished in the last year. For those of you who come here to see my art. Worry naught, I will be posting some new stuff shortly.

About a year ago I decide I needed an axe.

I have a fire pit in my back yard but nothing to process wood with. So I put it out to the universe. I says "Hey universe, I need and axe." Well ask and you shall receive. My father-in-law just happens to have a couple of of old axes he can spare me.

As anyone who cares to spend the time researching knows some of the best hand tools in the world are made in Sweden. You can get affordable yet well made stuff like Mora's, or you can get boutique stuff like the Gransfors Bruks axes. Now I can not justify paying the price it costs to get one of these axes. They are hand forged and of great quality. Maybe when I'm fifty and a bit more financially stable I can get myself one. But the truth is I don't imagine I will need to. As it turns out the axes that my father-in-law provided are both of Swedish make. HB of Sweden (Hults Bruk) has been making axes for about 300 years. If I take decent enough care of these axes I should be able to pass them along to my children when they are old enough.

That is the great thing about refurbishing old tools. They just don't make them like that anymore. It sounds cliche, but it is true. In an era of forced obsolescence companies won't produce something for under 80 dollars that will last. So the best option is to find tools that were expensive 40-50 years ago, buy'em cheap clean the rust off sharpen them up and blammo you have a quality tool that will last another lifetime.

The axes you see pictures of here are my felling axe (large), my Scandinavian style forest axe (medium), and my hatchet (small).

This ends the bulk of a lot of personal projects I've had doing, so it may be some time before I post any more craft stuff. In the mean time I will be posting more artwork and that sort of thing.

Stay golden Pony Boys and Girls.

Monday, April 23, 2012

Well Bow Me Down!

Lilly's first bow
Jute twine bow handle
Primitive kids bows
Primitive kids bows 2
Primitive kids bows 5
Primitive kids bows 4

A couple of weeks ago I constructed my very first fully functional bow.

This is the culmination of a year or more of obsession. About a year ago I was doing some research on the Plains of Abraham. While researching the look of a french musket on youtube I noticed on the suggestion sidebar that there was a video on the English longbow. This set off a chain of events that has led me to purchase a longbow and recurve bow in the last year.

On top of taking up archery, I have developed a healthy amount of knowledge of how to make my own primitive bow. Now, all the knowledge I have is theory gained from reading books like "The Traditional Bowyers Bible" volume one and two, "Bows and Arrows of the Native Americans" and a heap of youtube videos. I have to admit that without youtube my ability to understand what I have been reading would have been greatly limited, but fortunately for me that was not the case and the information so generously provided by people around the world has allowed me to successfully construct this bow.

In truth it is not a bow for me. It is a bow for my daughter who is two and a half years old. Wah... wah... waaaaaaa....

Before you are too disappointed, let me tell you this is one heck of a bow. It has truly exceeded my expectations and has given me the confidence to continue and build larger bows.

It is made from what I believe to be poplar. I cut it about 4 years ago to make a walking stick and it had been seasoning in my parents garage for all that time . The other day I was over for the afternoon and had some spare time so I grabbed a hatchet and an Opinel knife and went to town on the wood. All in all it probably took me about 5 hours to figure everything out and get it shaped up. I then wrapped the handle with jute twine and used waxed nylon cord to make the string.

Like I mentioned earlier, once I put a string on this thing I was not disappointed with its performance. I tested it out using plastic arrows with suction cup tips that belonged to a dollar store bow we bought for Lilly some time ago. Well let me assure you they all rest in pieces. This thing shot them so hard they literally shattered on impact when they hit the wall I was shooting them at.

Needless to say I'm holding off giving this bow to Lilly until she is older and I can build her some arrows that can withstand the bows power.

If you could have seen the grin on my face when I realized that this thing worked. So proud. I have already started on my next bow which is slightly longer than my first attempt. My first bow measured in at 36" and my next which is made from oak gathered from the riverbank is about 43" long.

In my haste I have already come up against some obstacles. Number one the wood is green and unseasoned. My fist bow was very easy to make because the wood had such a balanced strength to it due to the amount of time it was given to shed its moisture. The wood I am currently working with still has a fair amount of soft flex to it, and will need to dry longer before I put the finishing touches on it. If I can maintain my patience and not muck about with it too much, it should get stronger and easier to work with as time goes by.

I'll keep you posted on the progress.

Stay golden Bony Boys and Girls.

Wednesday, February 29, 2012

Ski Pulk

IMG_3890
IMG_3894
IMG_3912
IMG_3904
IMG_3924
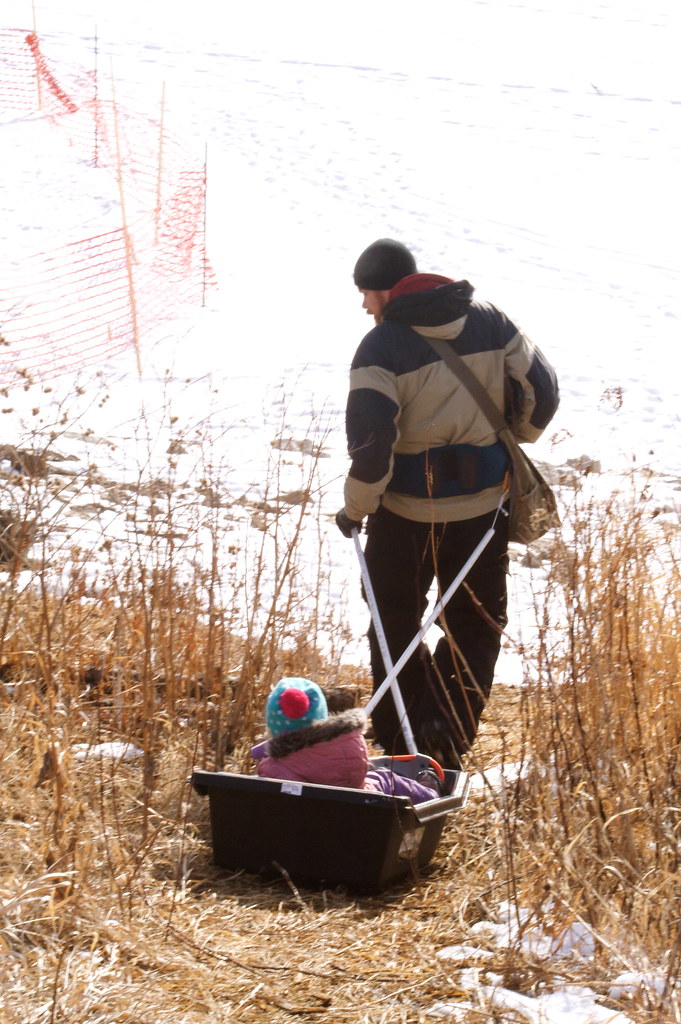
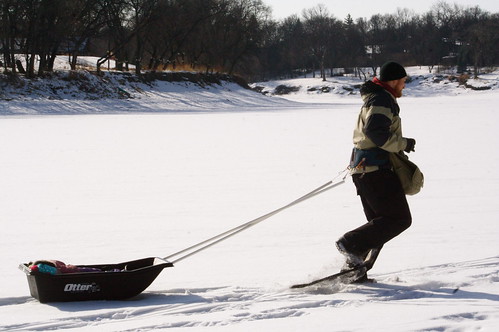
One of my latest projects has been the construction of a ski pulk.

SKI PULKS: sleds towed with a harness and rigid poles

I have to say I'm quite impressed. I made mine a bit more heavy duty than usual but it is for pulling my daughter not supplies, so that can be forgiven. The Main benefit of doing it myself is that it would have cost me between 250 - 300 dollars to buy one and I got mine done for about 80 dollars. And it is not a hard thing to put together.

If you live in a snowy area and you would like to try to build one. Here is a link to a make your own ski pulk booklet. I have to give a tip of the hat to the ski pulk company for offering this booklet. They obviously understand not everybody has the money to buy their products which have a very specialized audience.

The harness is a backpack waist strap bought for 25 dollars from MEC. The carabiners combined cost about 8 dollars. 50 cents for the D rings. 4-5 dollars for 15 meters of Paracord (which has a little too much give) which will have to be replaced with another kind of cordage. And last but not least the sled (hunting/icefishing sled) cost 40 dollars. All you need is a drill to make some holes in the edge of the sled and lace the rope through.

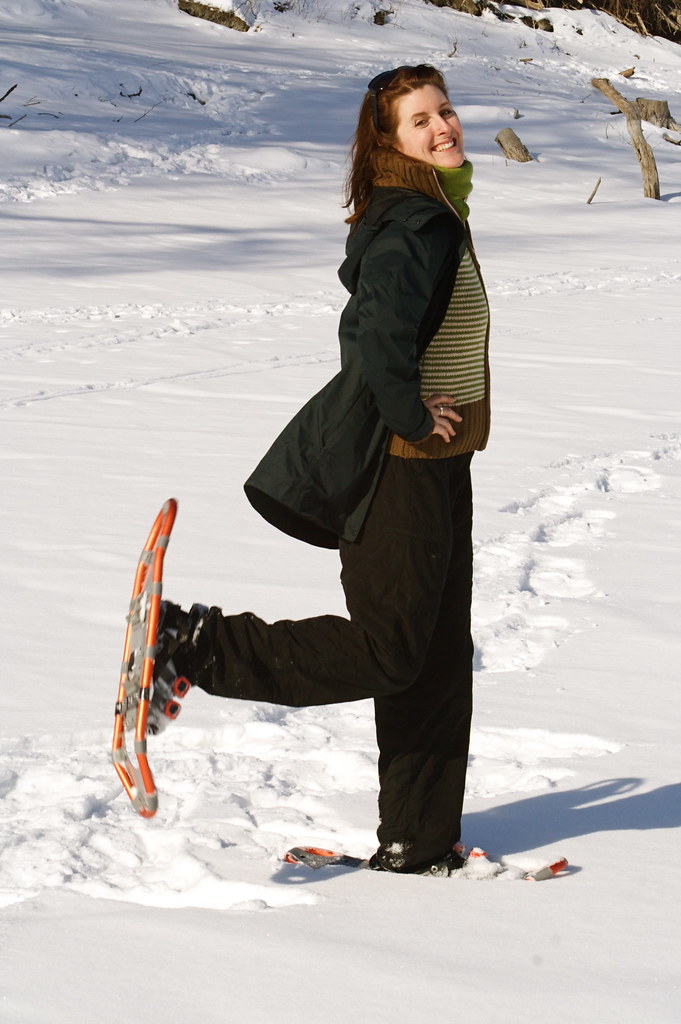
I have not had a chance to try it with skis yet. I'll do that this weekend hopefully. but with snowshoes with crampons I can pull my wife and my daughter, at least for a little while.

Tuesday, February 28, 2012

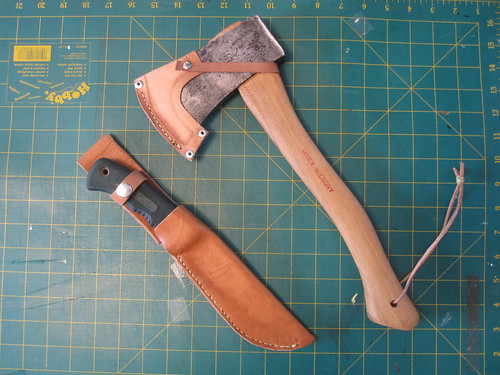
Hunting Knife Sheath

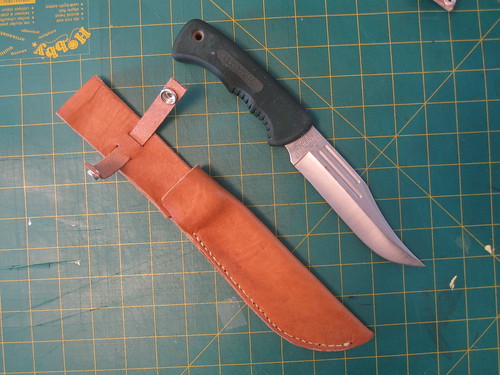
Hunting Knife outside of sheath
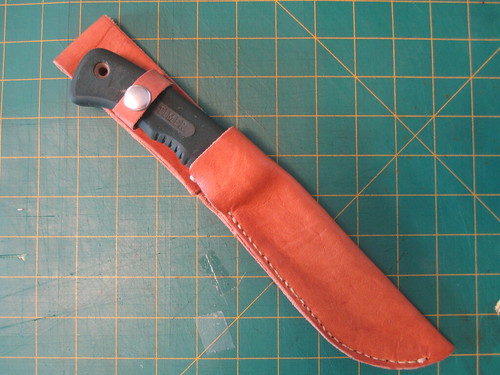
Hunting Knife in sheath
Hunting knife and hatchet
This is a hunting knife sheath that I put together as a gift for a friends brother-in-law. I used tooling leather and neats foot oil for a natural finish. I sewed it using nylon sail thread and some rivets.

I moulded the leather for a friction hold. which means the knife will not slip out of the sheath if inverted. I did however ad a safety band with a snap just in case.

I think it looks really rugged. I have posted a shot of the hatchet and the hunting knife together. The hatchet sheath uses a much lighter leather and it did not take the oil anywhere near as well as the tooling leather. So note to self, vegetable tan tooling leather is the bomb.

I have one more craft project to post and then I am back to artwork and such.

Saturday, February 25, 2012

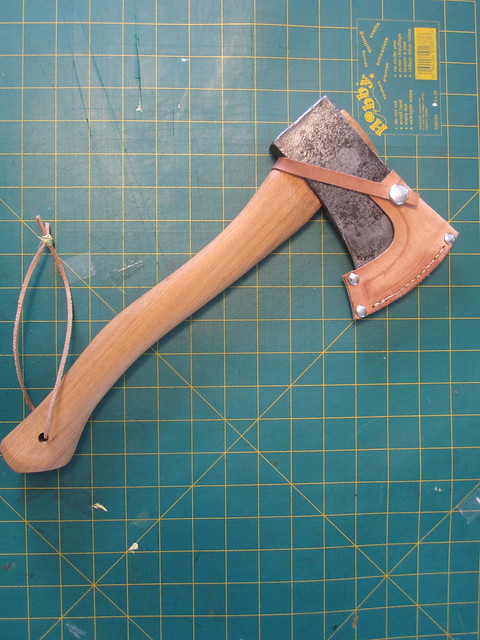
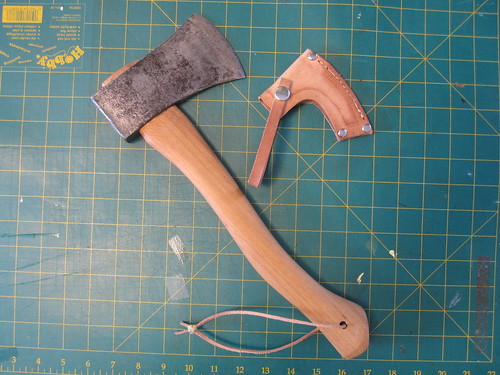
Refurbished Hatchet

Refurbished hatchet in sheath
Refurbished hatchet beside sheath

I like to fix up old tools, especially old axes. I also like to make stuff out of leather. So when a friend had a beat up old hatchet with a smashed handle covered in paint. I took the opportunity to replace the handle, re-sharpen the head, and remove the paint on it. I then made a Gransfors Bruks style sheath to protect it. It was a fun little project. I have also refurbished a felling axe and made a scandinavian forest style axe. I have not taken photos of those yet.